Hello and Thank you for joining.
Today, let us go through a very significant topic which is Keyboard Handling. All iOS Developer meets this challenge once while making an app including me. So lets see how can we overcome this challenge. In this blog, we will understand the method to handle the keyboard's show and hide events and accordingly handle the View Controllers.
We will be working on an example to understand the procedure to handle Keyboard Events.
But before that let's go through some significant terms.
The first thing you should know is the UIWindow- “The backdrop for your app’s user interface and the object that dispatches events to your views.”
UIWindow is the one on which we display our app content.
However, there are some more tasks which object of UIWindow handles. Those are as follows-
However, there are some more tasks which object of UIWindow handles. Those are as follows-
- Setting the z-axis level of your window, which affects the visibility of the window relative to other windows.
- Showing windows and making them the target of keyboard events.
- Converting coordinate values to and from the window’s coordinate system.
- Changing the root view controller of a window.
- Changing the screen on which the window is displayed.
Go through this link to study UIWindow in detail.
Let’s Start.
I am considering that you have created a project with a single view. Now let’s go to storyboard.
Now we will have to add ScrollView in the view controller as we are going to scroll the view according to hide and show of keyboard.
And then add the UIView inside the scroll view as shown below
Now we will add 2 text fields to the bottom and set the delegate for them. Also set proper constraints as shown below.
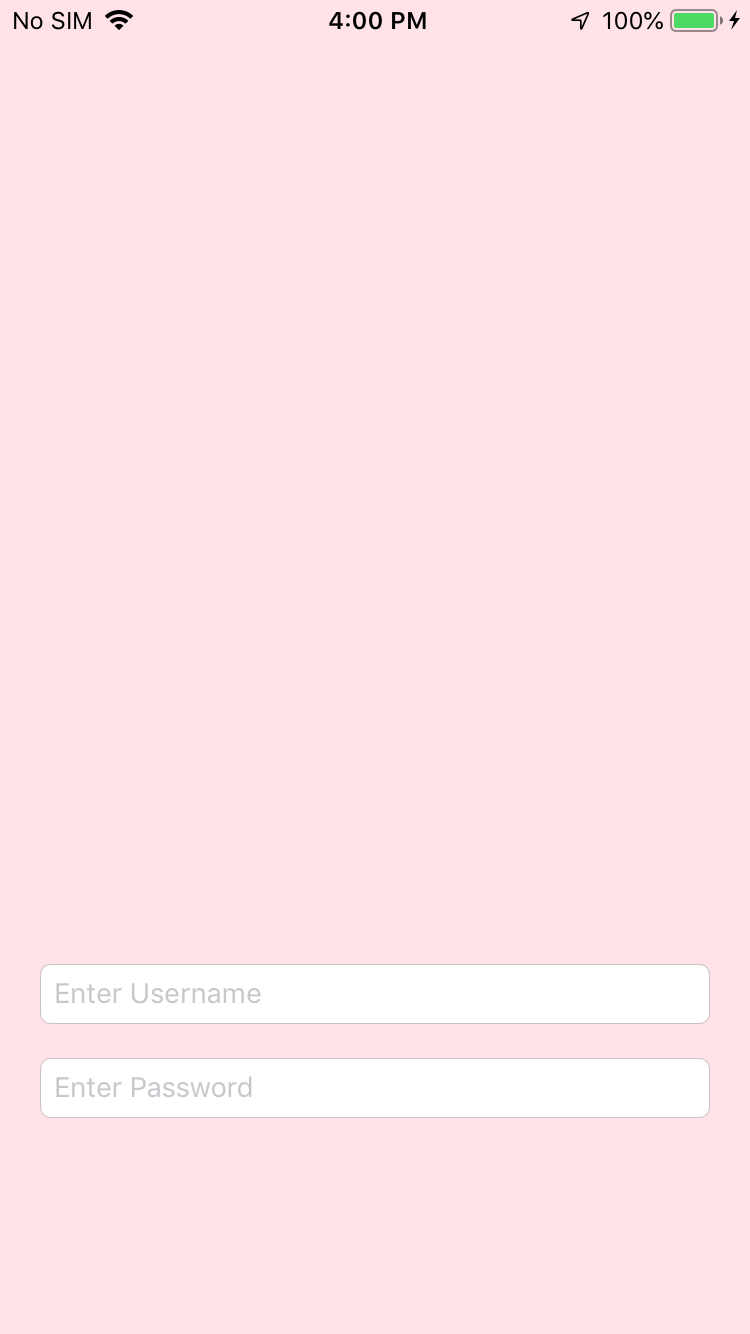
I have added 2 text fields to the bottom, Username and Password and also set the constraints required for demo so that on keyboard hide and show we can move the view containing text fields up and down.
Now Let’s run the app. Here are the screenshots after running the app. So you will see the when I tapped on username text field the keyboard hides both the textfield. So we don’t want this to happen. So let’s start working on it and achieve our target to move the text fields up.
First of all we will add the outlets to the textfield and scrollview
    /// TextField for Username
    @IBOutlet weak var txtUserName: UITextField!
    /// Textfield for Password
    @IBOutlet weak var txtPassword: UITextField!
    /// ScrollView
    @IBOutlet weak var scrollView: UIScrollView!
Then will set the delegate to both the textfields
 override func viewDidLoad() {
        super.viewDidLoad()
        txtUserName.delegate = self
        txtPassword.delegate = self
    }
Now we will add observers for 2 events as shown below -
- keyboardWillShowNotification
- keyboardWillHideNotification
 override func viewDidLoad() {
        super.viewDidLoad()
        txtUserName.delegate = self
        txtPassword.delegate = self
        NotificationCenter.default.addObserver(self, selector: #selector(ViewController.keyboardWillShow), name: UIResponder.keyboardWillShowNotification, object: nil)
        NotificationCenter.default.addObserver(self, selector: #selector(ViewController.keyboardWillHide), name: UIResponder.keyboardWillHideNotification, object: nil)
    }
Also we need to remove the observer when this view disappears as shown below.
 override func viewWillDisappear(_ animated: Bool){
        NotificationCenter.default.removeObserver(self, name: UIResponder.keyboardWillShowNotification, object: self.view.window)
        NotificationCenter.default.removeObserver(self, name: UIResponder.keyboardWillHideNotification, object: self.view.window)
    }
So now we will need to declare those two functions added in observer. Before that we will declare one variable to store the active field. Here I have set the content inset of scrollview to zero if the keyboard will hide.
var activeField : UITextField?
@objc func keyboardWillHide(notification: NSNotification) {

        scrollView.contentInset = .zero
        scrollView.scrollIndicatorInsets = .zero
        self.view.endEditing(true)
 }
Function called when keyboard will show. Here I have taken the keyboard size and calculated the content inset which to be set to the scrollView.
@objc func keyboardWillShow(notification: NSNotification) {
let info : NSDictionary = notification.userInfo! as NSDictionary
let keyboardSize = (info[UIResponder.keyboardFrameEndUserInfoKey] as! NSValue).cgRectValue.size
let contentInsets : UIEdgeInsets = UIEdgeInsets(top: 0.0, left: 0.0, bottom: keyboardSize.height + 50, right: 0.0)
self.scrollView.contentInset = contentInsets
self.scrollView.scrollIndicatorInsets = contentInsets
var aRect : CGRect = self.view.frame
aRect.size.height -= (keyboardSize.height + 50)
if activeField != nil
{
if !aRect.contains(activeField!.frame.origin)
{
self.scrollView.scrollRectToVisible(activeField!.frame, animated: true)
}
}
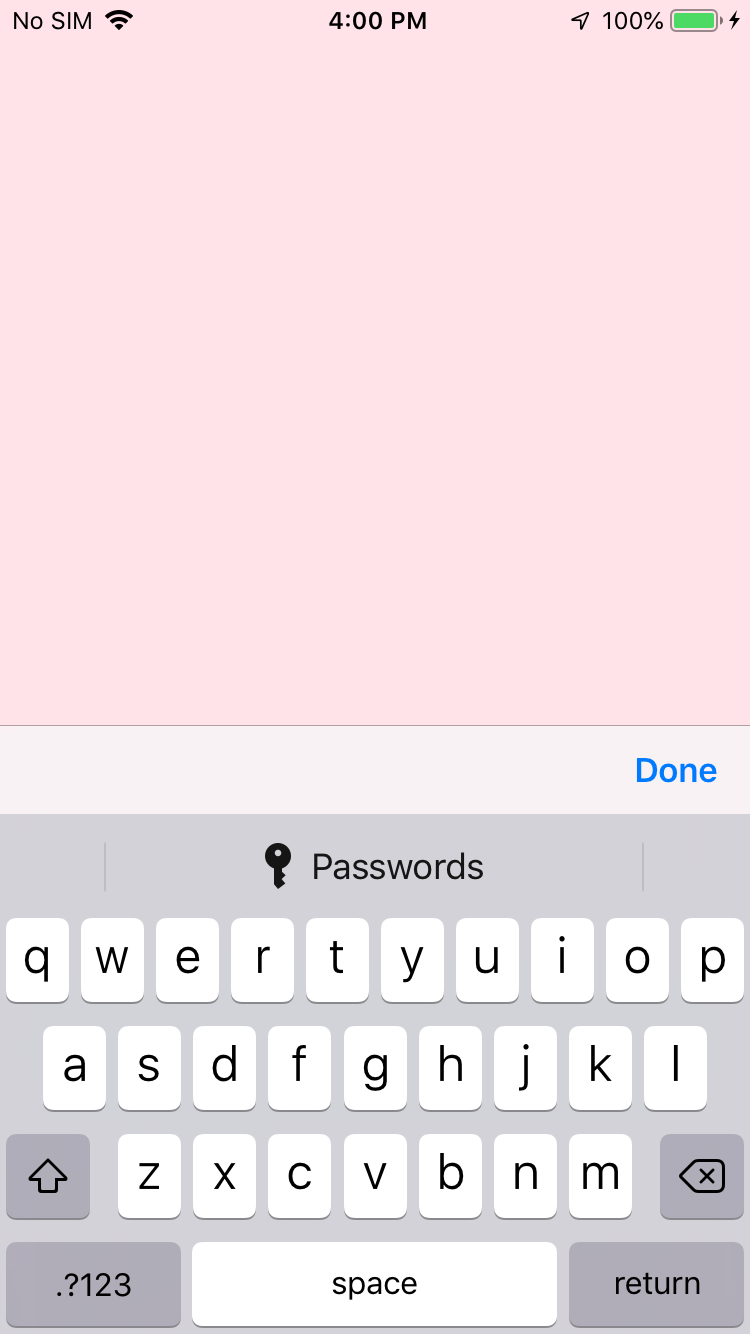
}Also we will do one thing that we will add done button above keyboard, for that add this function in your code and implement this function in view did load for both textfields. Here I have added a done button to the keyboard for the given textfield. So whenever we will tap on textfield the keyboard will appear with a done button.
func addDoneButtonOnKeyboard(_ textfield : UITextField) {
        let doneToolbar: UIToolbar = UIToolbar(frame: CGRect(x: 0, y: 0, width: 320, height: 50))
        doneToolbar.barStyle = UIBarStyle.default
        let flexSpace = UIBarButtonItem(barButtonSystemItem: UIBarButtonItem.SystemItem.flexibleSpace, target: nil, action: nil)
        let done: UIBarButtonItem = UIBarButtonItem(title: "Done", style: UIBarButtonItem.Style.done, target: self, action: #selector(ViewController.doneButtonAction))
        var items = [UIBarButtonItem]()
        items.append(flexSpace)
        items.append(done)
        doneToolbar.items = items
        doneToolbar.sizeToFit()
        textfield.inputAccessoryView = doneToolbar
    }
Declare the action of done button as shown. Here I have checked the active field and then accordingly taken action. If it is username I have moved the cursor to the password textfield on done button tap. If the active field is password I have hidden the keyboard on done button tap.
@objc func doneButtonAction() {
        if activeField == txtUserName
        {
            txtUserName.resignFirstResponder()
            txtPassword.becomeFirstResponder()

        }
        else
        {
            txtPassword.resignFirstResponder()
        }
 }
Add this code in view did load after observer
addDoneButtonOnKeyboard(txtPassword)
addDoneButtonOnKeyboard(txtUserName)
Now we will implement the delegate functions of text field.
extension ViewController : UITextFieldDelegate
{
    func textFieldShouldBeginEditing(_ textField: UITextField) -> Bool {

        activeField = textField
        return true

    }
    func textFieldDidBeginEditing(_ textField: UITextField) {
        activeField = textField
    }
    func textFieldDidEndEditing(_ textField: UITextField)
    {
        activeField = nil
        textField.resignFirstResponder()
    }

}
Let’s run the app now and see the magic. These are the screenshots after running the app.

Thanks for reading this blog. I hope it has helped you. Will be coming soon with some more topics. Feel free to comment if I am wrong.
Thank You!!!
Your work is very engaging! Amazing piece and is worth reading and sharing. Hoping for more of this kind of work of yours author. Meanwhile. If you are interested and looking for ios developerFeel free to check and visit our site. Thank you and Godbless!
ReplyDeleteThanks for appreciation.
Delete
ReplyDeleteThank you for information.Also if you're
looking to create high preforming and user-friendly apps for apple devices
ios app development
In order to develop an Ios app the Best Mobile App Development Companies follows various steps. Some of the steps includes Outline Your Complete Idea in a Hierarchical Way, Market Analysis & Budget Framing, Go for a Wireframe, Prototype Building Plan for iOS App & Final Design & Development.
ReplyDelete
ReplyDeleteLeo Oscar
Thank you so much for this useful information. looking more from your side to update us on more updates and advancements
Amazing and useful info. Thanks for sharing.
ReplyDeleteFreelance ios application developer
good post
ReplyDeletevisit us
Good post. I just read your blog and wanted to say that I have really enjoyed reading your blog posts. Keep update with your blogs. ios app development
ReplyDelete